Quick Start with the UI
Six steps, no installs, from an empty account to a running Live System in your own cloud.
Prefer code? The IaC quick start reaches the same result from TypeScript, Java, or Terraform.
You need a Fractal Cloud account and administrator access to one AWS account, Azure subscription, or GCP project — see prerequisites.
Step 1 — Create a Bounded Context
A Bounded Context is the governance scope that owns everything you are about to create. Make one before anything else.
- Sign in to the Fractal Cloud dashboard.
- Create a Bounded Context and give it a name — your team or product name works well
(
acme-payments).
That name becomes part of the identity of every Fractal and Live System inside it, so pick something you will still recognize in six months.
The control-plane API calls this concept a Resource Group, and some dashboard fields still use that label. Same thing.
Step 2 — Create an Environment
An Environment is where infrastructure actually gets provisioned. It maps to one real cloud account, subscription, or project.
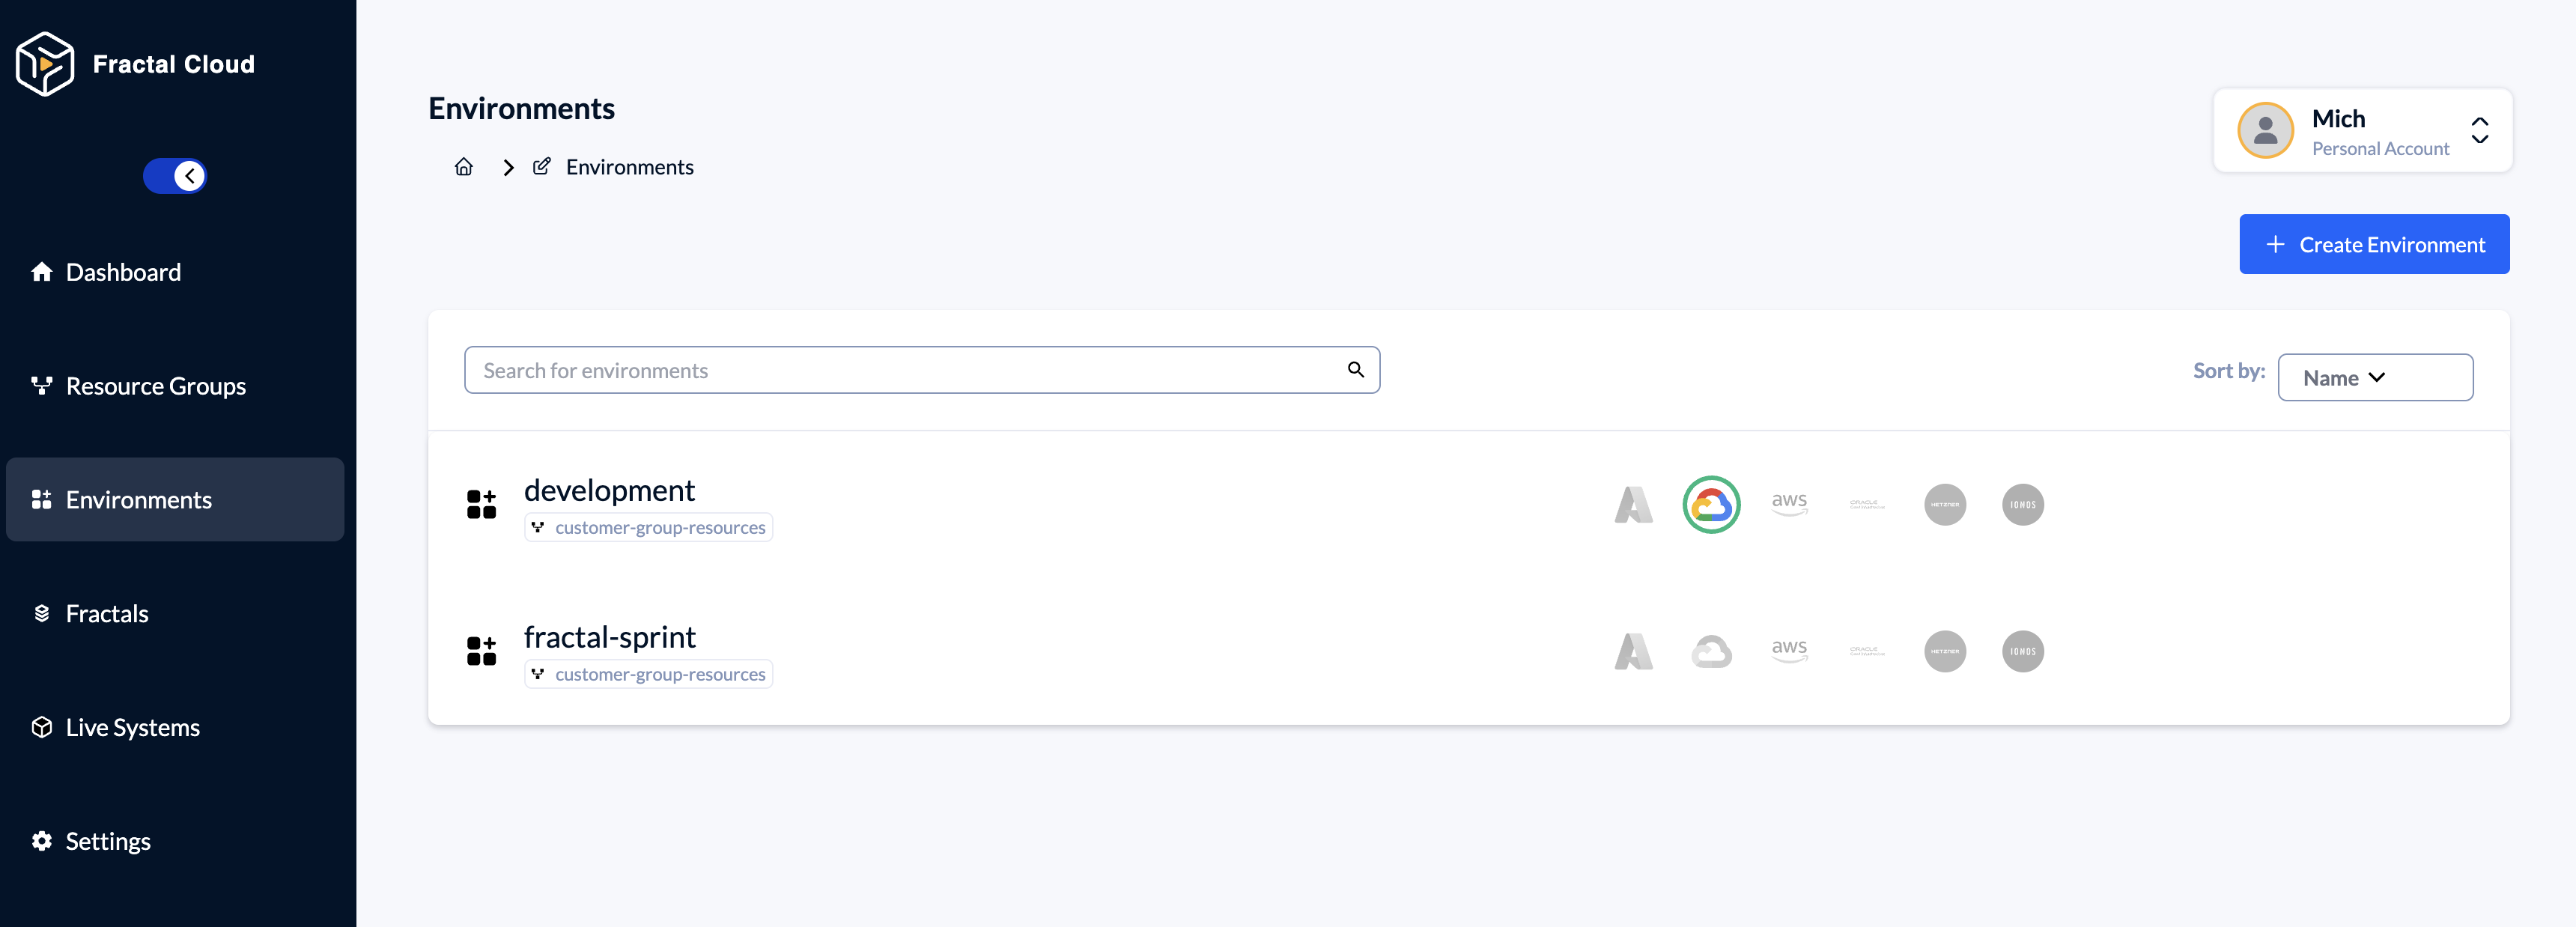
- Go to Environments.
- Create an environment and attach it to the Bounded Context from Step 1.
- Give it a short name — lowercase letters, numbers and dashes, max 30 characters (
dev).
An environment's networkTier parameter (prod / nonprod) drives availability defaults on managed
services and the network tiering model. Unset
means nonprod — which is what you want for a first look. It is deliberately never inferred from the
environment's name.
Step 3 — Initialize the Cloud Agent
The Cloud Agent is what reconciles your declared infrastructure against real cloud state. Fractal Cloud's control plane has no standing access to your cloud — the agent runs inside your account and does the work.
- Open the environment you just created.
- Go to General, then the Cloud Agents section.
- Select Initialize Cloud Agent.
- Choose your cloud provider.
- Follow the provider authorization flow — IAM Identity Center or STS for AWS, Microsoft Entra ID OAuth or a service principal for Azure, Google Cloud authorization for GCP.
- Select the target account, project, subscription, and region when asked.
- Select Initialize.
Initialization creates the resources the agent needs in your cloud account. When it finishes, the agent is listed on the environment page.
Do not manually modify or delete Cloud Agent resources in your cloud account. To disconnect, remove the environment from Fractal Cloud — that cleans the agent resources up for you.
Provider prerequisites and common failures are covered per provider in Environment initialization: AWS, Azure, GCP.
Step 4 — Compose a Fractal on the Design Canvas
A Fractal is a reusable blueprint: which components exist, and how they relate. You compose it visually.
- Go to Fractals and select Create Fractal.
- Open the Design Canvas.
- From the palette, open the Storage category and drag a File & Blob Storage element onto the canvas.
That single component is enough for a first Live System. A Fractal is versioned, so you can add to it later without breaking anything already running from the current version.
A blueprint references abstract components (Storage.ObjectStorage), never vendor-specific ones.
The vendor is chosen later, when you instantiate. That is what makes the same Fractal deployable to
AWS, Azure, or GCP — see the Component → Service → Offer hierarchy.
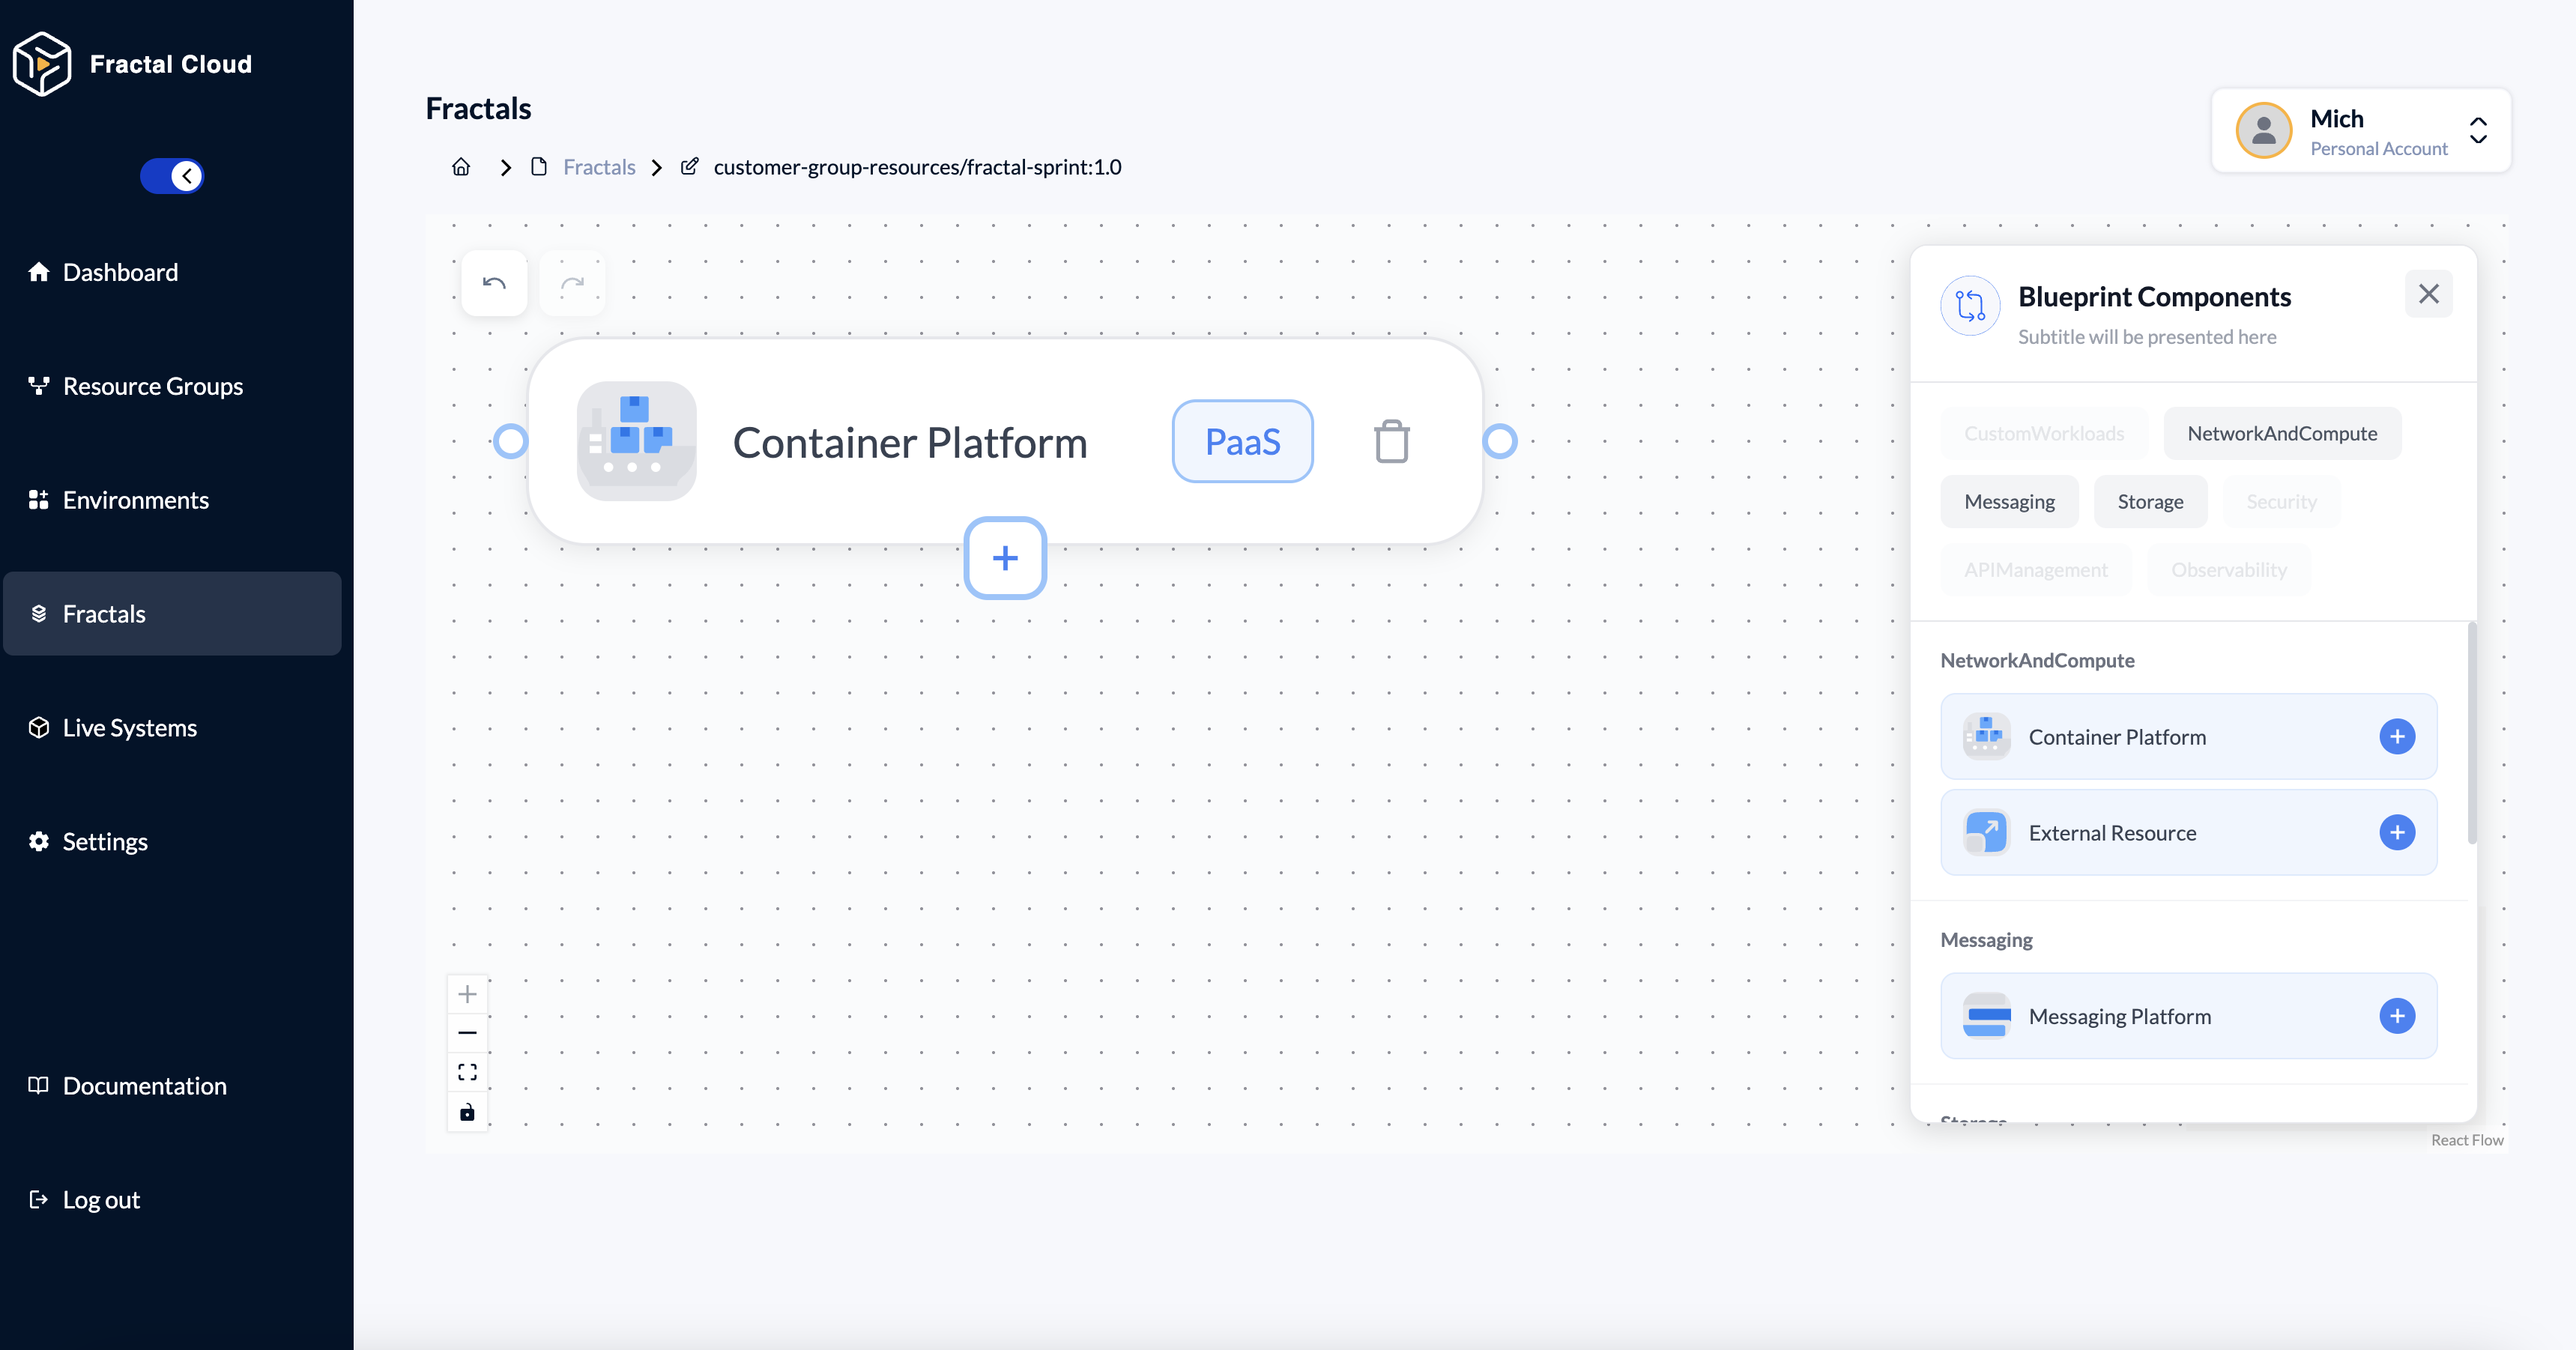
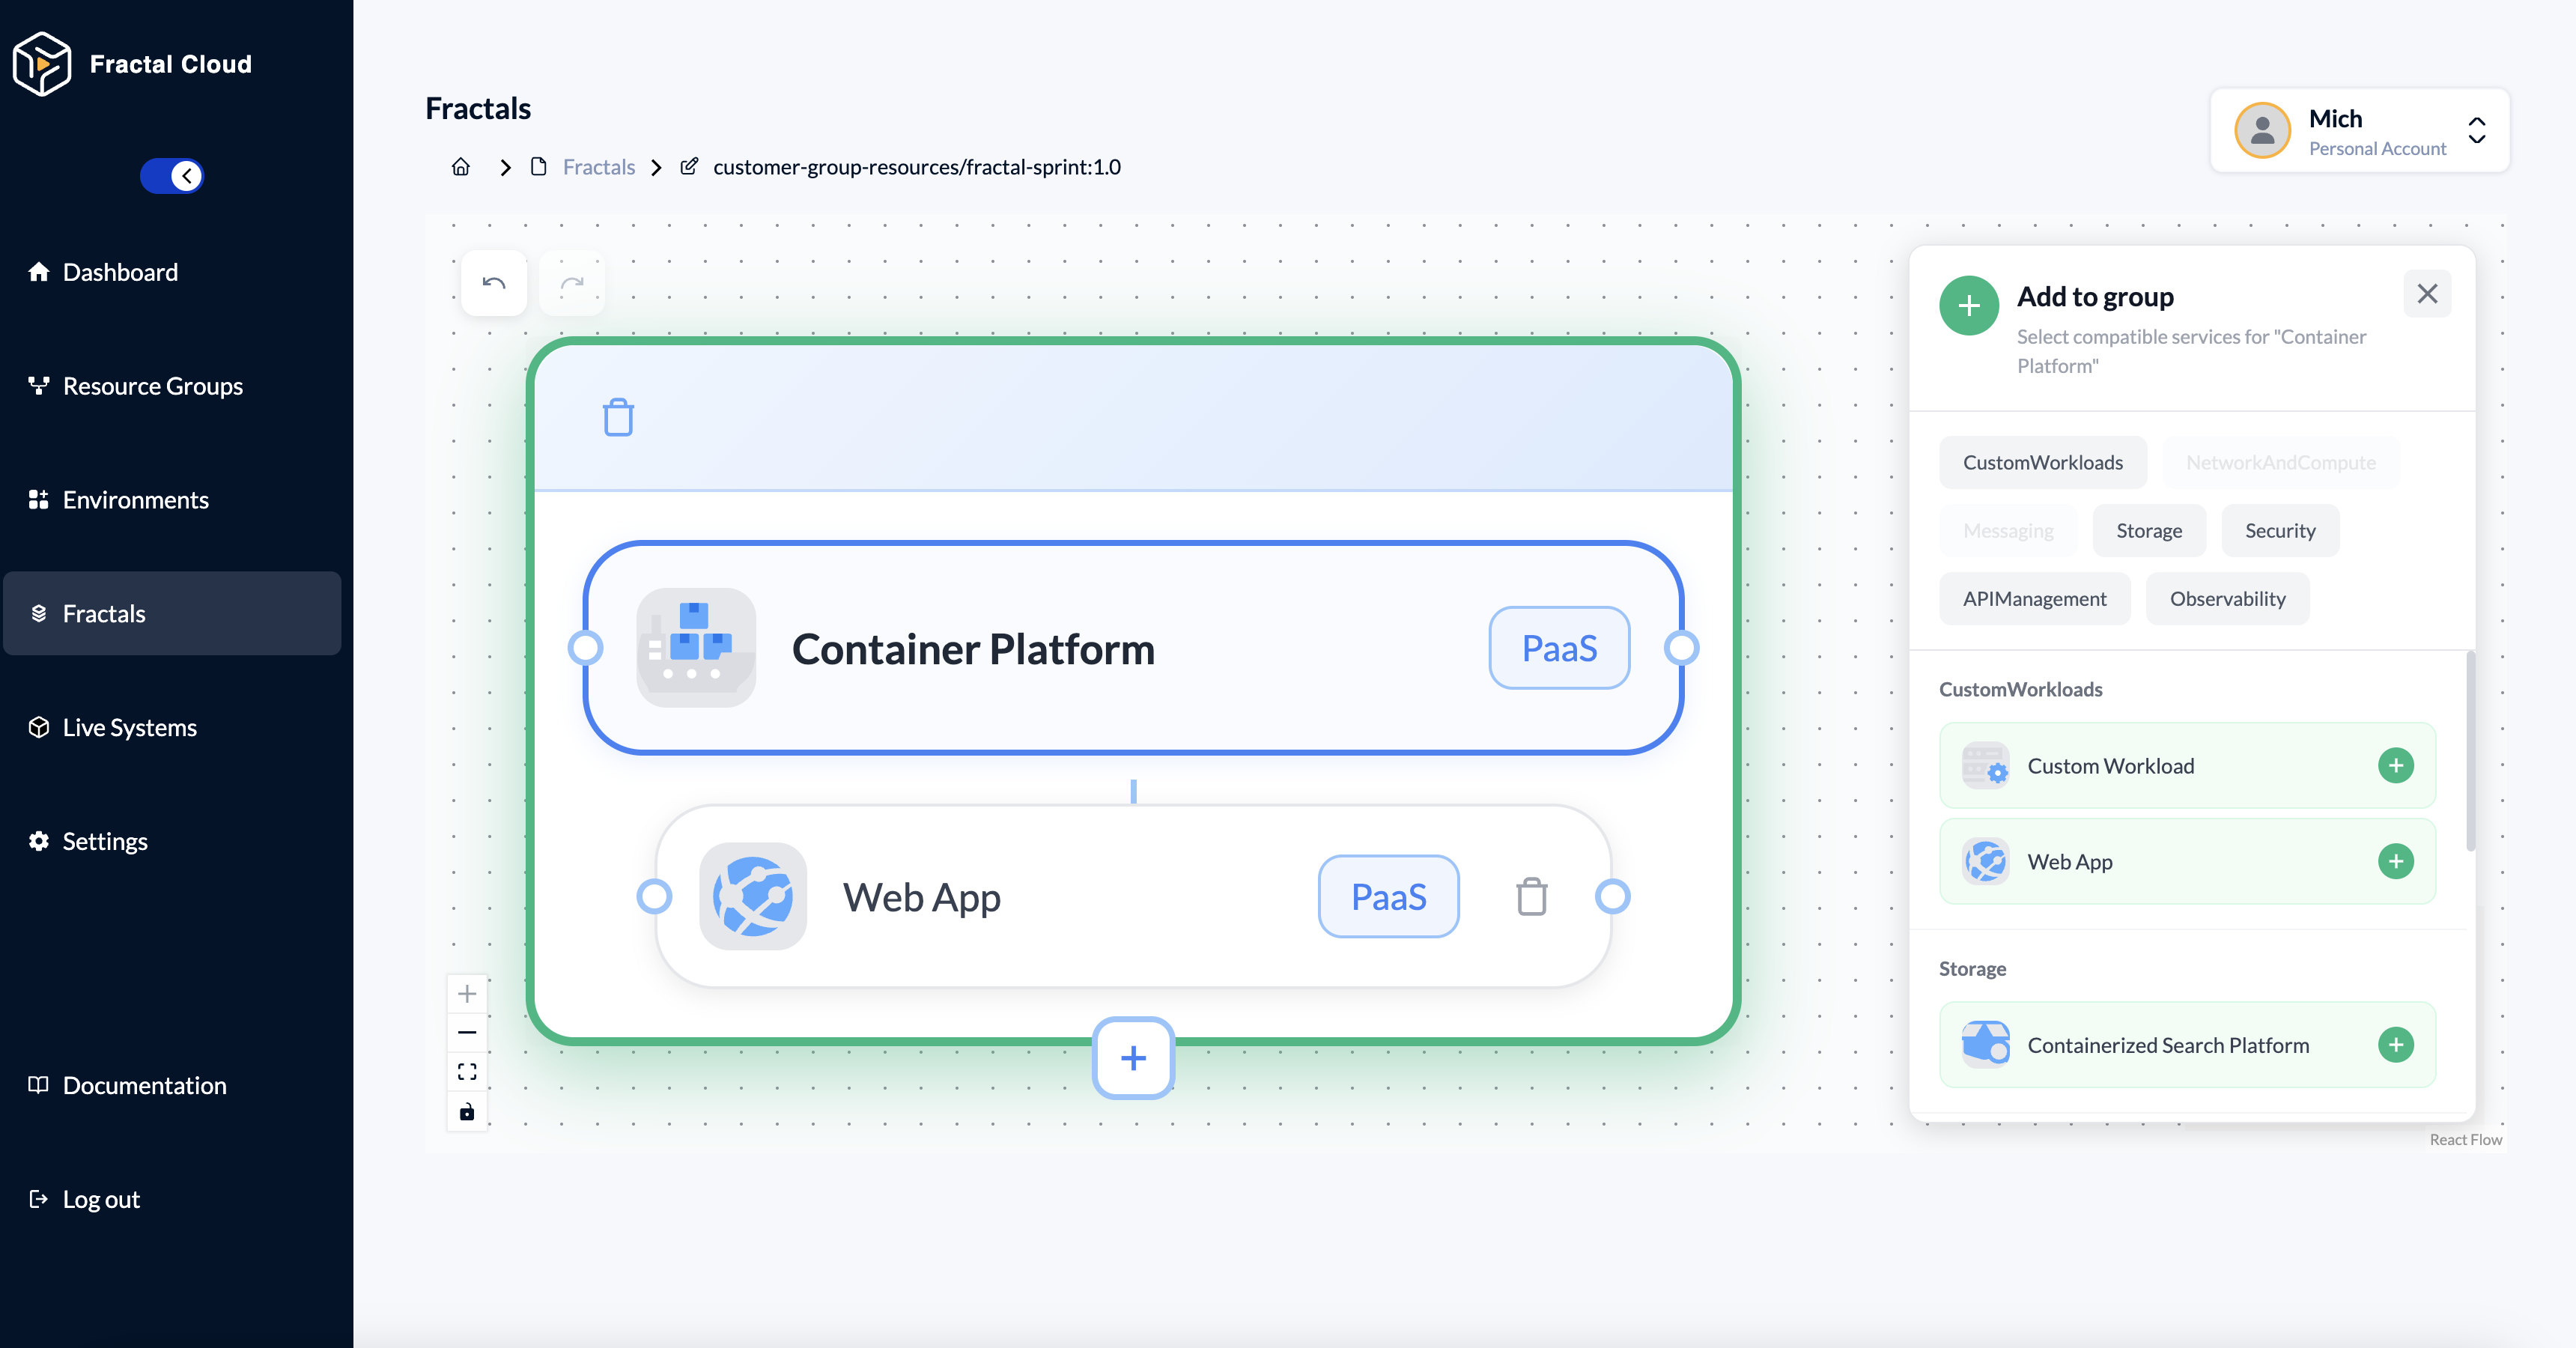
Want to nest a workload inside a container platform? Drag a Container Platform element, hover it, click the + on the group box, and pick from CustomWorkloads in the side panel.
Step 5 — Instantiate a Live System
A Live System is your running instantiation of the Fractal: one concrete offer per component, deployed into one environment.
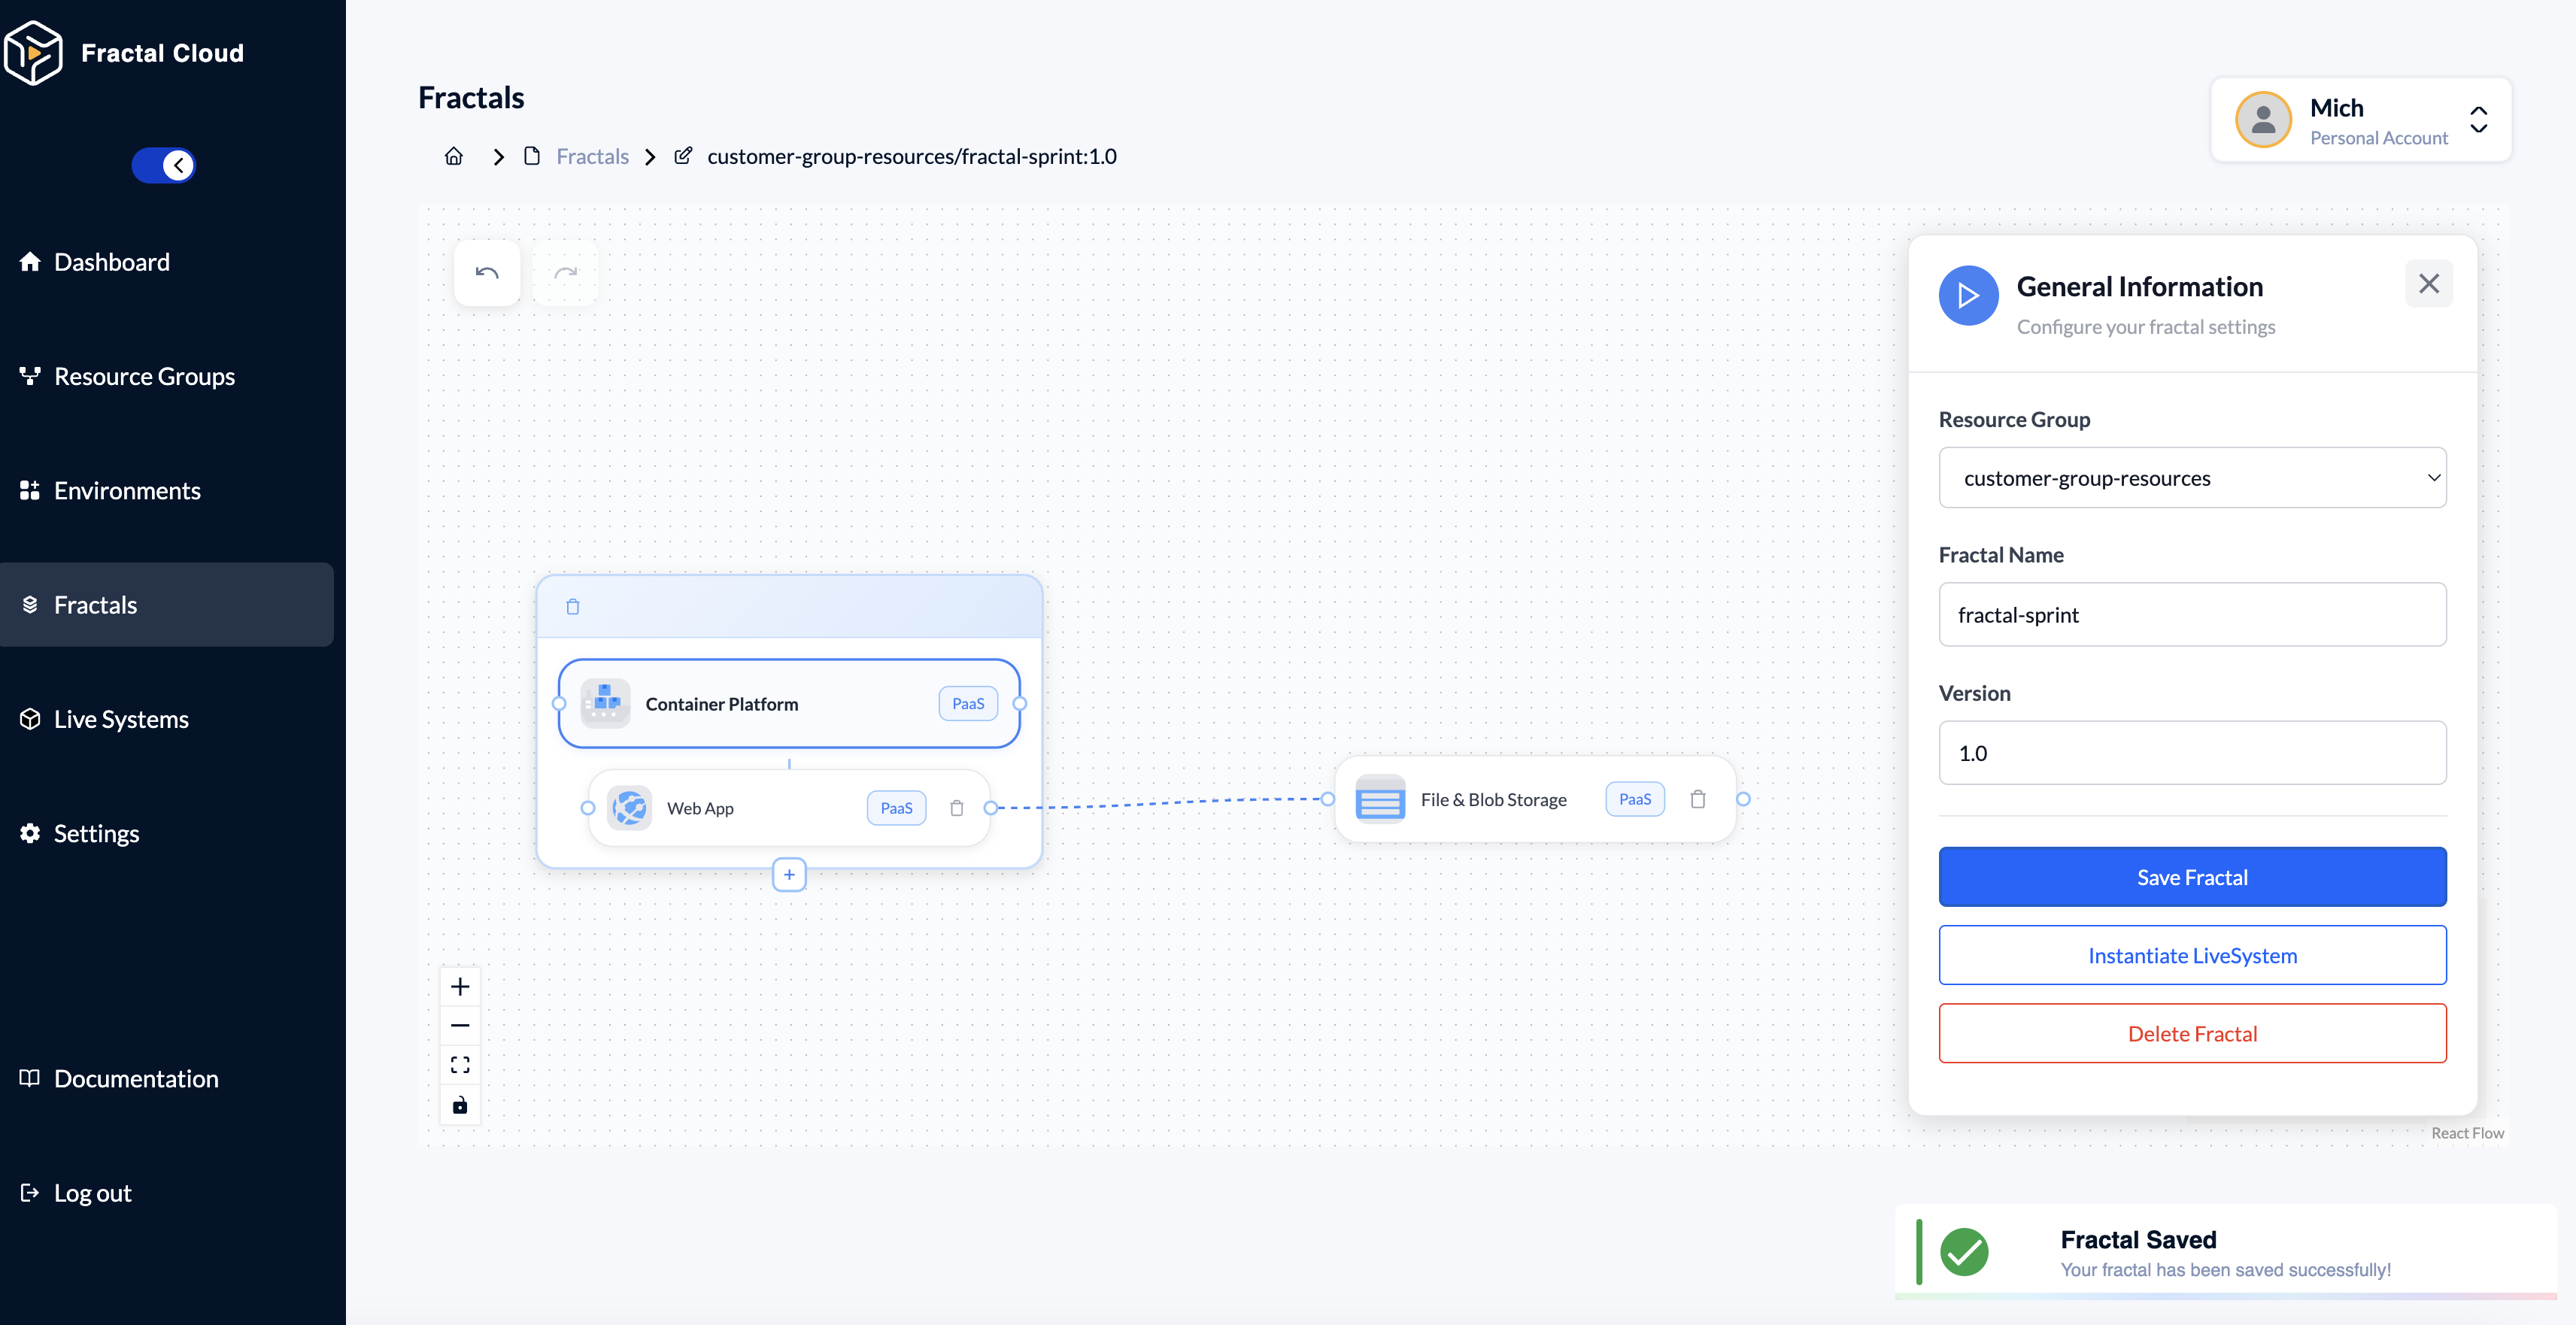
- Select Save Fractal.
- Select Instantiate Live System.
- Select the Bounded Context from Step 1.
- Select the Environment from Step 2 — the one with the initialized Cloud Agent.
- Name your Live System (
acme-payments-dev). - Select Instantiate LiveSystem.
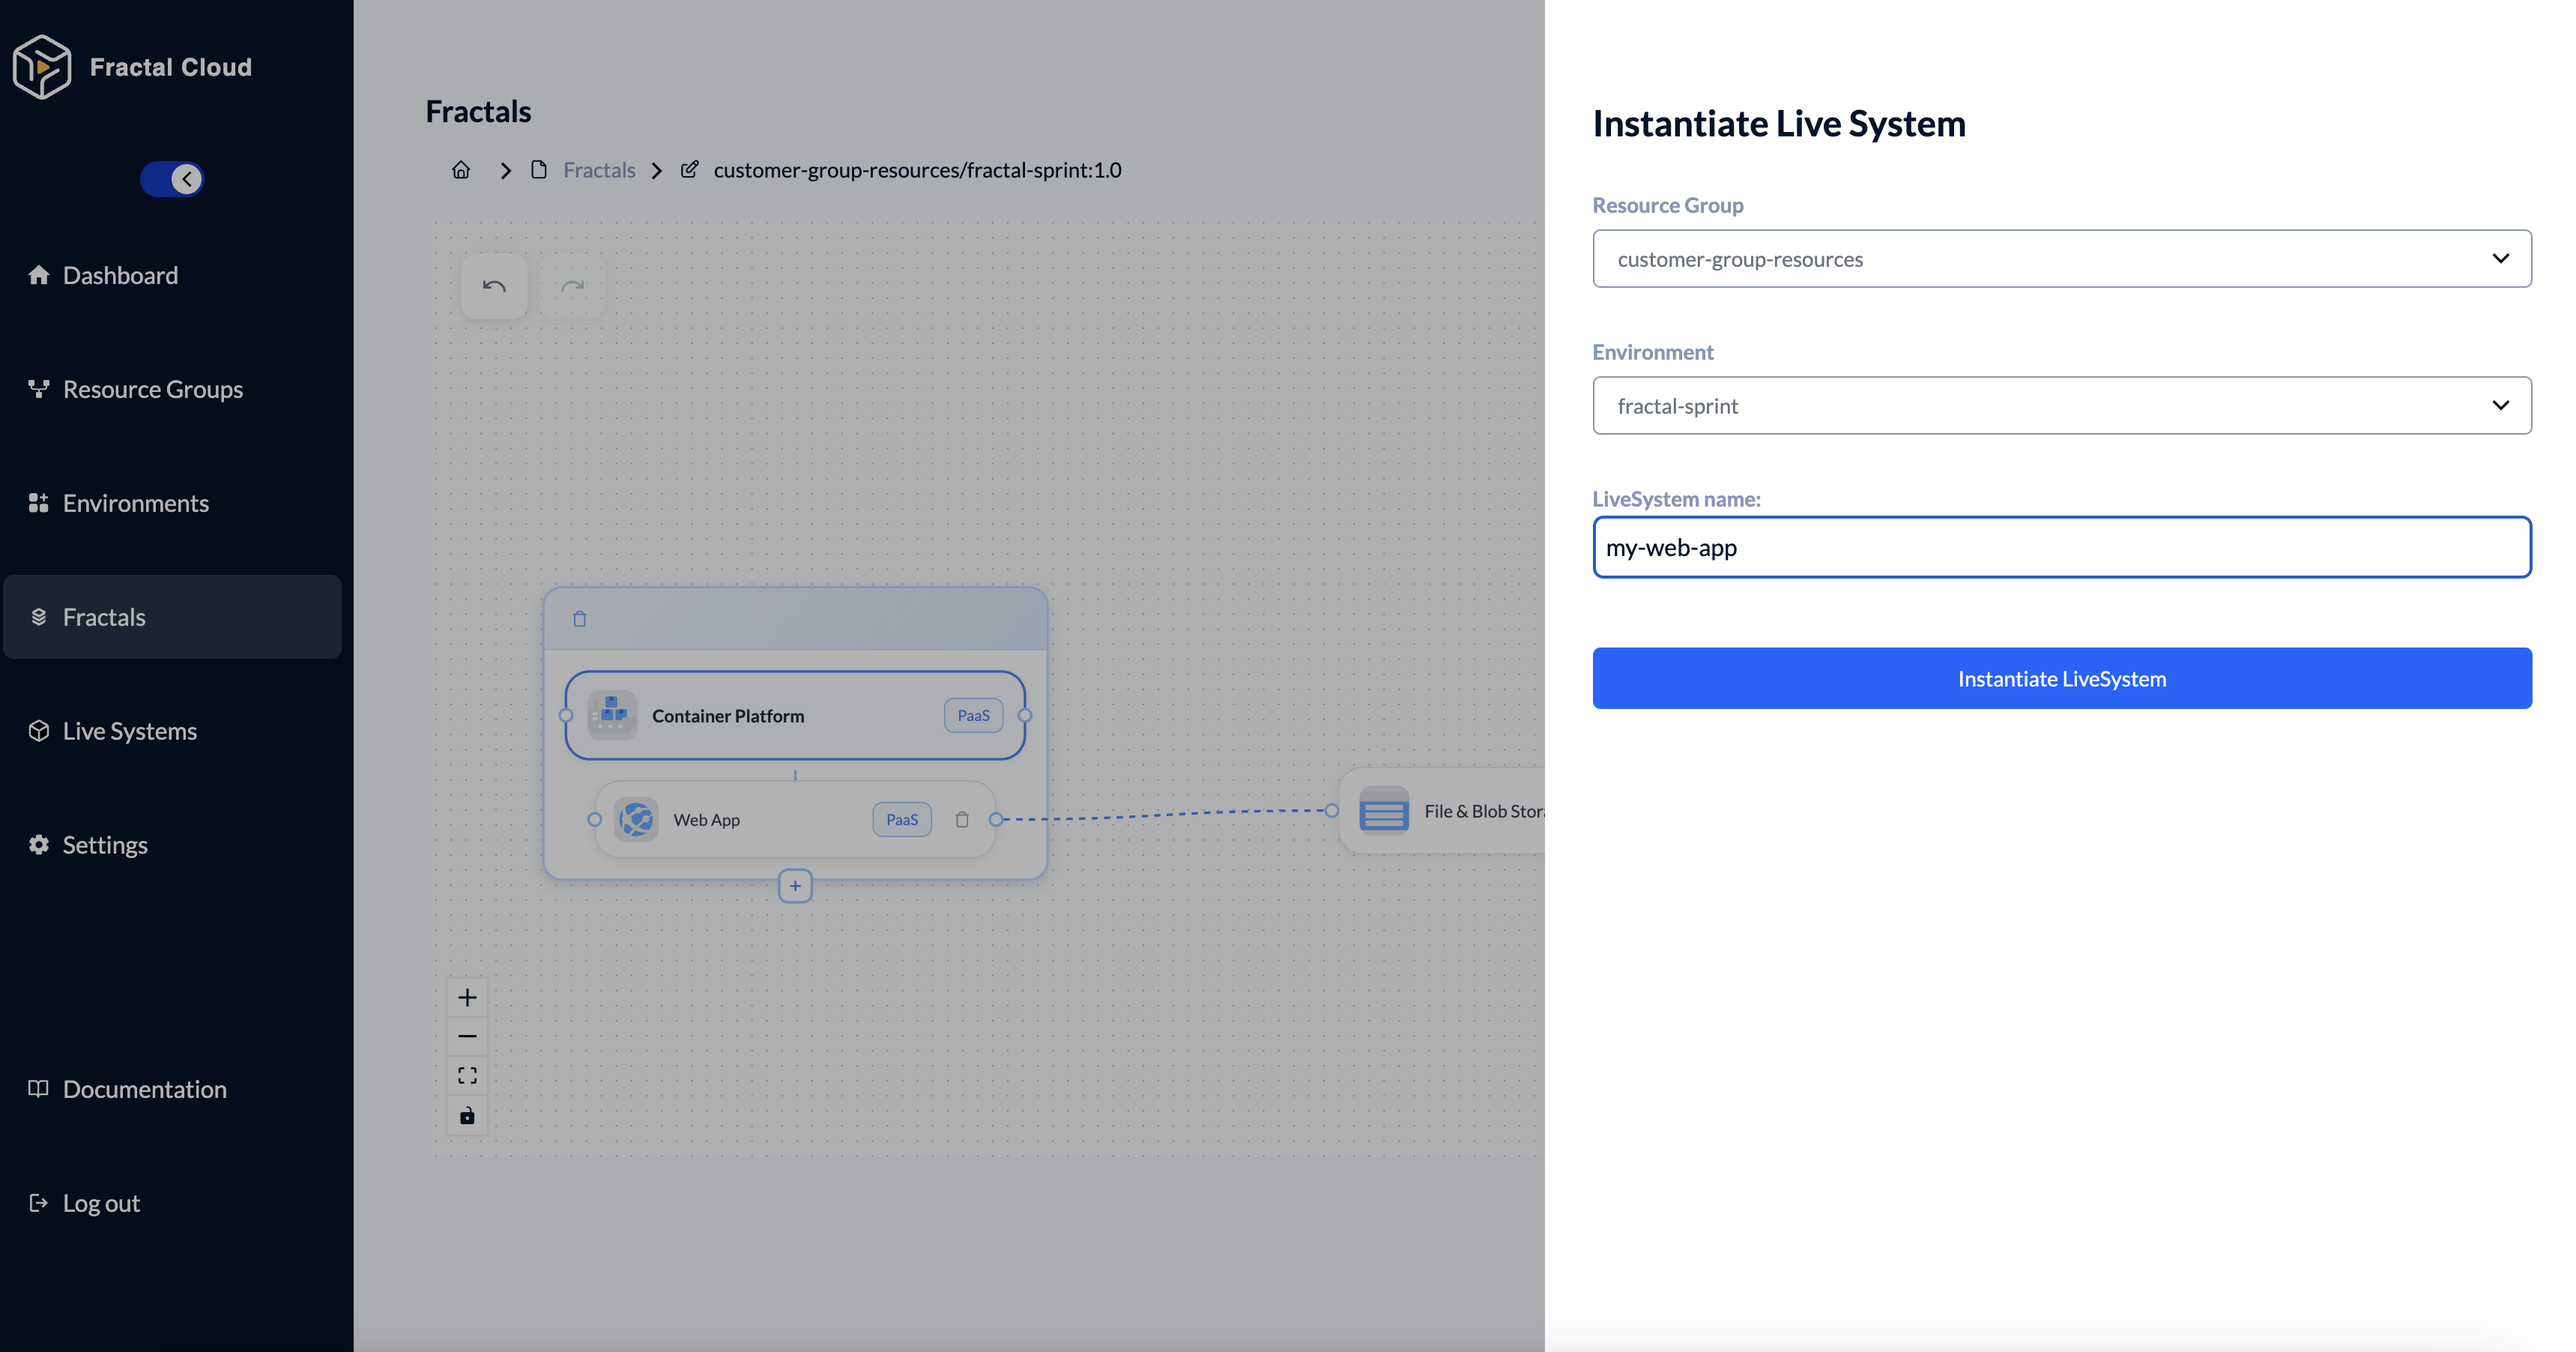
This starts the reconciliation loop. The agent compares the declared state against your cloud account and provisions what is missing.
Step 6 — Watch it come up
Open the Live System. Each component reports its own status, and moves to Active once the agent has provisioned it and confirmed it matches the blueprint.
Once every component is Active, the Live System is Active — and the storage exists in your cloud account. Go look at it in your provider console.
Each component also publishes output fields — vendor-agnostic facts like a bucket URI or a
private IP. They never contain raw secrets, only *_REF references that a workload runtime resolves
at launch.
You have a Live System running on real infrastructure, from a governed blueprint that can be instantiated again — different environment, different cloud vendor — without editing it.
What next
- Instantiate the same Fractal again into a second environment. This is the point of the model: the blueprint is authored once by a platform team and instantiated many times by developers, with no modification.
- Move to code — the environment you just initialized is deployable from an SDK, so you can put the next Fractal in Git.
- Full tutorial — the same journey at length, building a three-tier stack (Kubernetes cluster + PostgreSQL + web app) and covering the Ops / Platform / Developer split.
- Component Reference — every offer in the catalogue, per vendor, with all its parameters.
If you get stuck, contact us.